Building a solar power system involves several steps, from designing the system to installing the components. Here’s a general guide to help you understand the process. Keep in mind that this is a simplified overview, and it’s recommended to consult with a professional solar installer for a comprehensive and accurate system design. Safety precautions must be followed throughout the installation process.
1. Determine Your Energy Needs:
- Assess your energy consumption to determine the size of the solar power system you’ll need. Analyze your electricity bills to understand your average monthly or yearly consumption.
2. Assess Your Location:
- Consider the local climate, average sunlight hours, shading, and the orientation of your roof or available space for solar panel installation. These factors impact the efficiency of the solar power system.
3. Design the Solar Power System:
- Work with a solar professional or use solar design tools to create a system layout. Determine the number of solar panels, inverter capacity, and any necessary energy storage (batteries). Consider system losses due to shading, panel orientation, and other factors.
4. Acquire Solar Panels:
- Purchase high-quality solar panels from reputable manufacturers. Consider factors such as efficiency, warranty, and durability. The capacity of the solar panels should match the energy needs of your home.
5. Choose an Inverter:
- Select an inverter that converts the direct current (DC) produced by the solar panels into usable alternating current (AC) for your home. Inverters also often include monitoring capabilities.
6. Decide on Energy Storage (Optional):
- If you want to store excess energy for use during periods of low sunlight or at night, consider integrating energy storage solutions, such as batteries. Choose batteries based on your energy storage needs.
7. Obtain Mounting Hardware:
- Purchase mounting hardware to secure the solar panels to your roof or ground-mounted structure. Ensure the mounting system is compatible with your roofing material and local building codes.
8. Install Solar Panels:
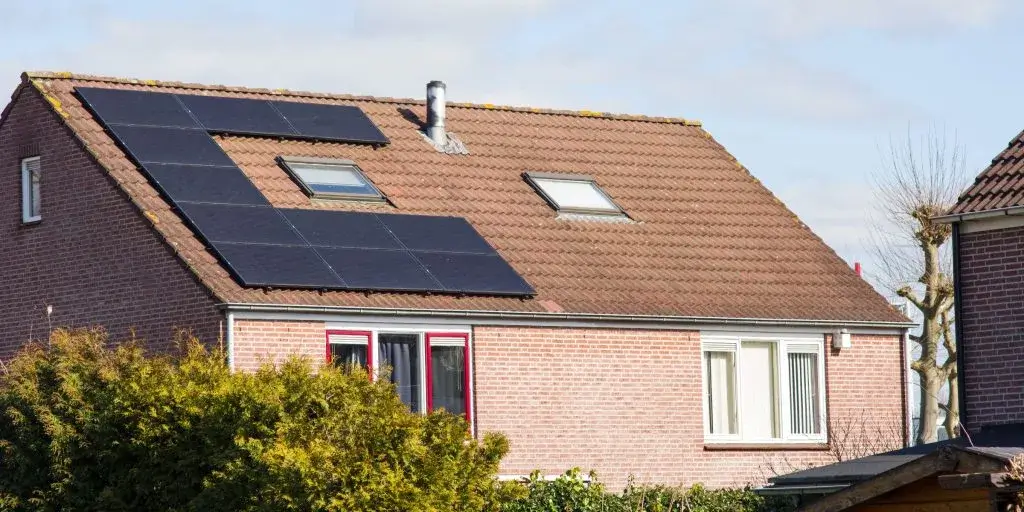
- Follow safety guidelines and local regulations when installing solar panels. Secure the mounting hardware to the roof or structure, then attach the solar panels to the mounts. Connect the panels in series or parallel as per the system design.
9. Connect Wiring:
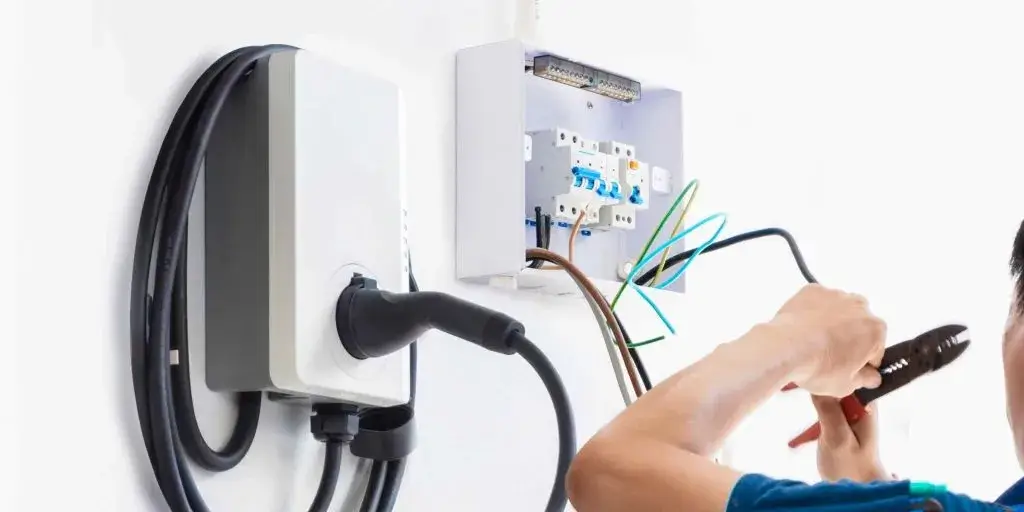
- Connect the wiring from the solar panels to the inverter and other system components. Follow electrical codes and safety practices. Install a disconnect switch for maintenance and emergency situations.
10. Install Inverter and Balance of System Components: – Install the inverter and connect it to the solar panels and the electrical panel of your home. Install other balance of system components, including combiner boxes, disconnects, and surge protectors.
11. Set Up Monitoring System: – If your inverter includes monitoring capabilities, set up the monitoring system to track the performance of your solar power system. Monitoring helps identify any issues promptly.
12. Obtain Necessary Permits: – Check with local authorities to obtain any required permits for solar panel installation. Ensure compliance with local building codes and regulations.
13. Commission the System: – Once the installation is complete, commission the solar power system by testing its functionality. Ensure that all components are working correctly and that the system is producing the expected amount of electricity.
14. Regular Maintenance: – Perform regular maintenance, such as cleaning the solar panels, checking connections, and monitoring system performance. Address any issues promptly to ensure optimal operation.
It’s crucial to note that solar power system installation involves electrical work, and safety is paramount. If you are not experienced in electrical work, it is highly recommended to hire a qualified and licensed solar installer to ensure a safe and efficient installation.


